Create a virtual cluster via the Kosmos UI
Create a virtual cluster via the Kosmos UI
1. Login to the Kosmos UI
Login to the Kosmos UI: Kosmos UI .
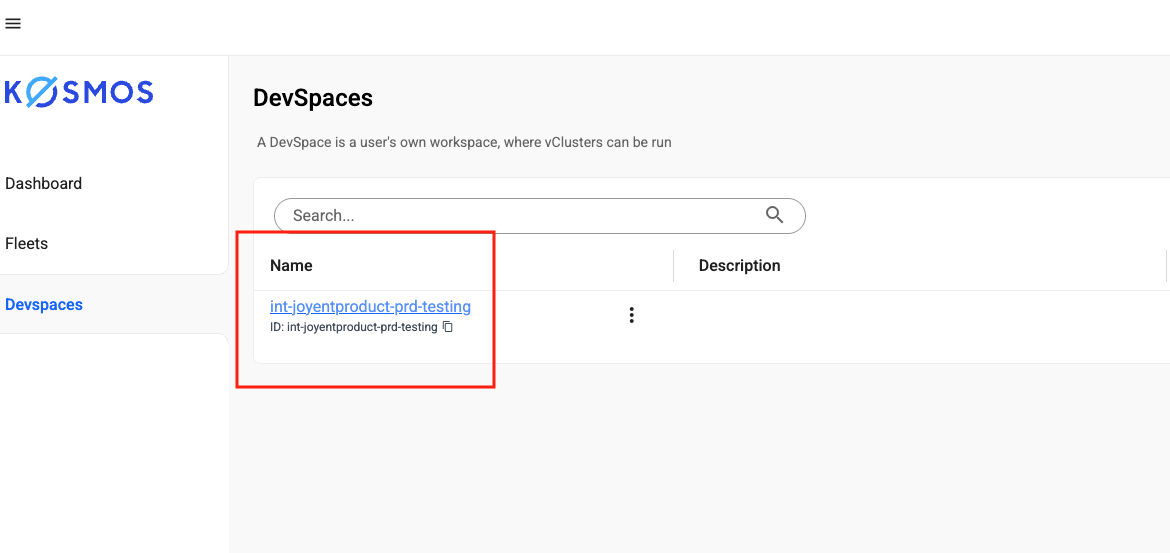
2. Navigate to the devspaces list page
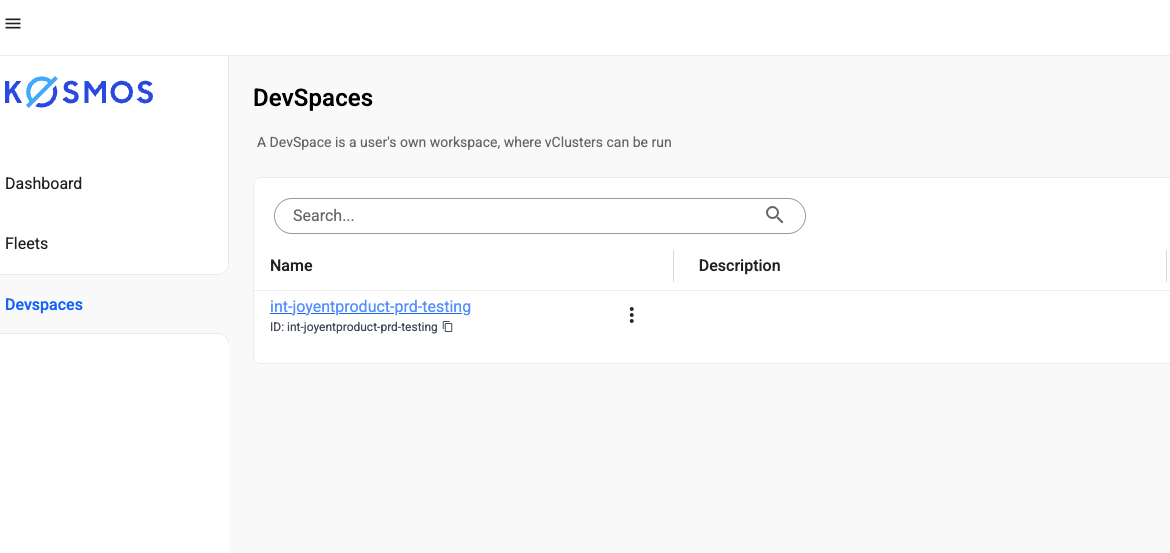
Click on the devspace called “Name” you would like to open. The virtual clusters list will appear.
3. Create a virtual cluster
Click the “Create virtual cluster” button. The “Create vCluster” dialog appears.
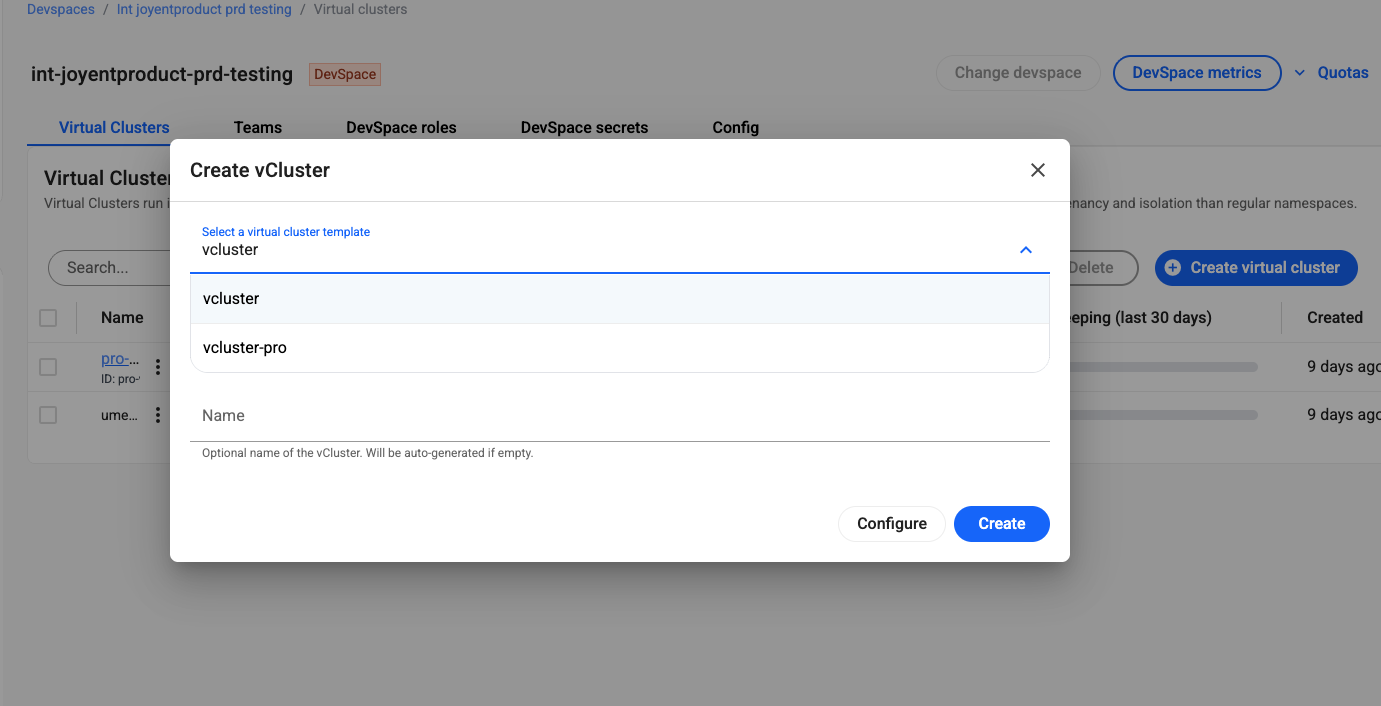
Select/enter the following values:
- Select a virtual Cluster template: vcluster vs vcluster-pro
- Cluster: dx-kosmos-sandbox-prd-apne1-eks
- Name: Enter your vCluster name
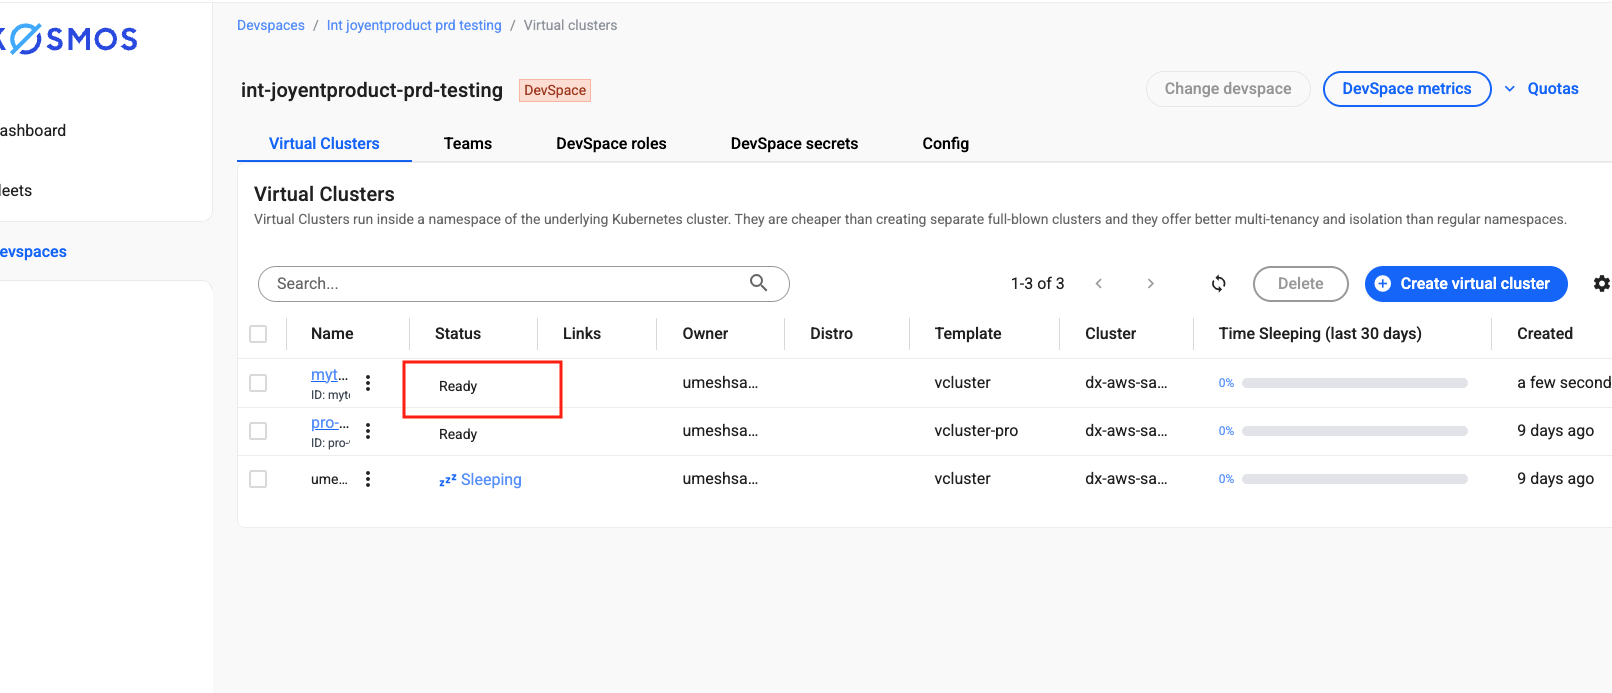
Click the “Create” button. The dialog will close, and the message “Virtual cluster created” will appear briefly. The virtual clusters list page will refresh, showing your newly created vCluster with a status of “Pending”.
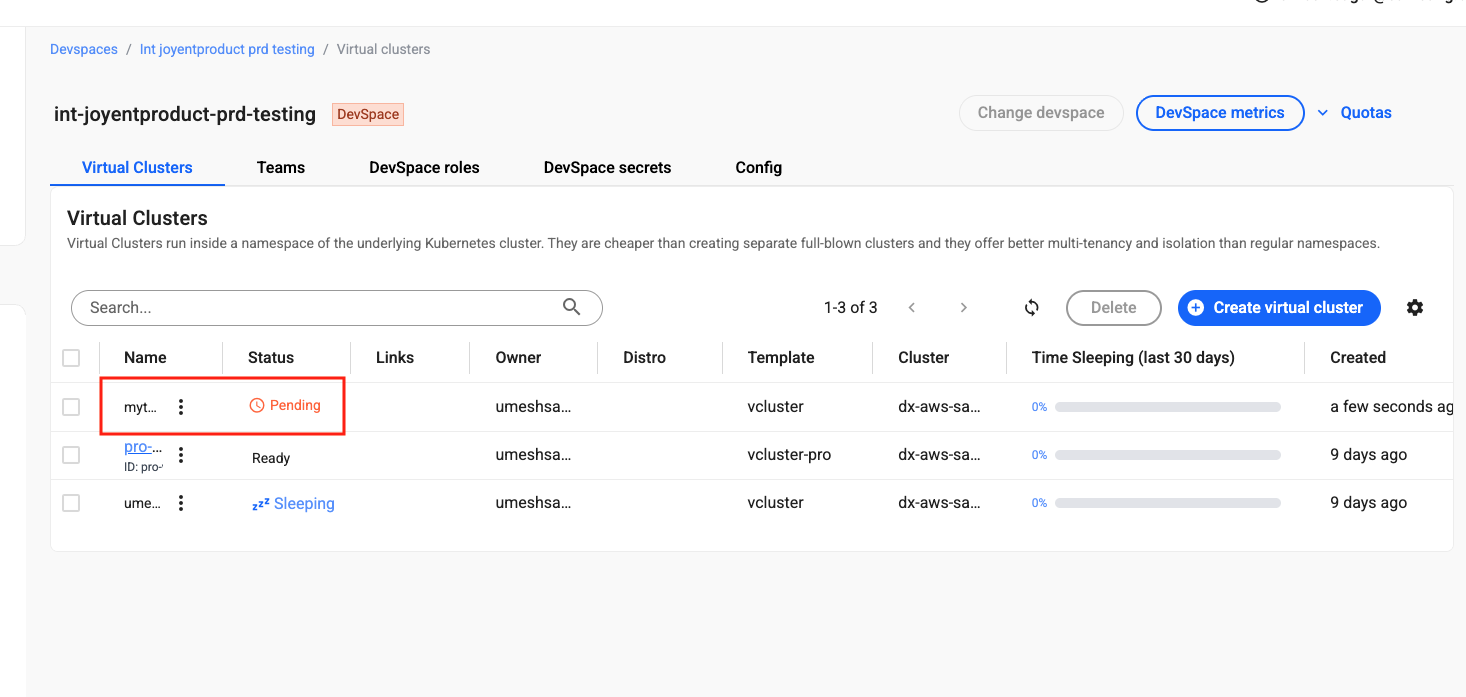
After a few seconds, the vcluster’s status will change to “Ready”. Click the ellipsis icon next to the vCluster name for more actions.
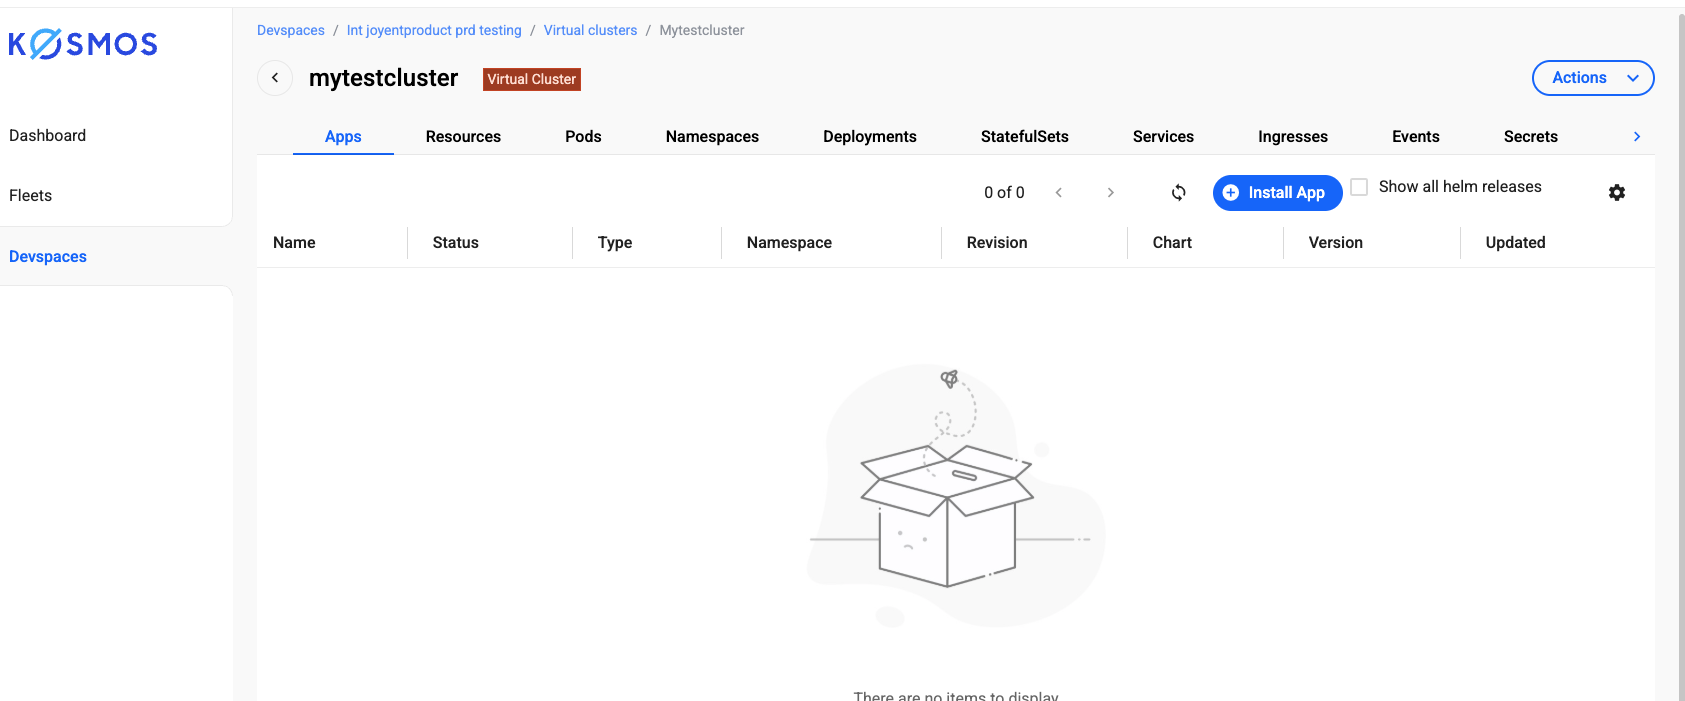
Step 4: Explore the virtual cluster details
Click on the vCluster name (which is a hyperlink) to open the virtual cluster details page. Explore the various tabs to see the available functionalities for the vCluster on the UI.
Use Kosmos CLI to interact with your virtual cluster
Step 1: Login to Kosmos
% kosmos --version
kosmos version 4.2.10
kosmos login https://console.kosmos.spcplatform.com/ --access-key <your-access-key>
Step 2: List virtual clusters
kosmos list vclusters
Example output:
NAME              | DEVSPACE       | CLUSTER        | NAMESPACE | STATUS | AGE |
----------------- | -------------- | -------------- | --------------- | ------ | ------
demo-vcluster     | qe-devspace-1  | dx-sandbox-eks | loft-qe-devspace-1-v-demo-vcluster | Ready  | 112m
Step 3: Use a virtual cluster
kosmos use vcluster demo-vcluster
Step 4: Execute kubectl commands
Get all resources
% kubectl get all
Output:
NAME                 TYPE        CLUSTER-IP      EXTERNAL-IP   PORT(S)   AGE
service/kubernetes   ClusterIP   10.100.116.94   <none>        443/TCP   120m
Create a namespace
% kubectl create ns demo-ns
namespace/demo-ns created
% kubectl get ns
Output:
NAME              STATUS   AGE
kube-system       Active   122m
kube-public       Active   122m
kube-node-lease   Active   122m
default           Active   122m
demo-ns           Active   7s
Create a file service.yaml:
apiVersion: v1
kind: Service
metadata:
  name: demo-nginx-service
  namespace: demo-ns
spec:
  selector:
    app: nginx
  ports:
    - protocol: TCP
      port: 80
      targetPort: 80
Create a service
kubectl apply -f service.yaml
Output:
service/demo-nginx-service created
kubectl get services --namespace demo-ns
Output:
NAME                 TYPE        CLUSTER-IP       EXTERNAL-IP   PORT(S)   AGE
demo-nginx-service   ClusterIP   10.100.178.250   <none>        80/TCP    3m53s
Create a deployment
Create a file deployment.yaml:
vi deployment.yaml
Output:
apiVersion: apps/v1
kind: Deployment
metadata:
  name: demo-nginx-deployment
  namespace: demo-ns
  labels:
    app: nginx
spec:
  replicas: 2
  selector:
    matchLabels:
      app: nginx
  template:
    metadata:
      labels:
        app: nginx
    spec:
      containers:
        - name: nginx
          image: nginx
          ports:
            - containerPort: 80
Apply the deployment:
% kubectl apply -f deployment.yaml
Check deployment and pods
Verify that the deployment and pods are running:
% kubectl get deployments --namespace demo-ns
Output:
NAME                    READY   UP-TO-DATE   AVAILABLE   AGE
demo-nginx-deployment   2/2     2            2           19s
The deployment above should automatically create two pods. Verify that the pods are “running”:
% kubectl get pods --namespace demo-ns
Output:
NAME                                     READY   STATUS    RESTARTS   AGE
demo-nginx-deployment-7c5ddbdf54-bhbg5   1/1     Running   0          66s
demo-nginx-deployment-7c5ddbdf54-h8kx8   1/1     Running   0          66s
Step 5: View events
% kubectl get events --namespace demo-ns
Output:
LAST SEEN   TYPE     REASON              OBJECT                                        MESSAGE
2m8s        Normal   ScalingReplicaSet   deployment/demo-nginx-deployment              Scaled up replica set demo-nginx-deployment-7c5ddbdf54 to 2
2m8s        Normal   SuccessfulCreate    replicaset/demo-nginx-deployment-7c5ddbdf54   Created pod: demo-nginx-deployment-7c5ddbdf54-bhbg5
2m8s        Normal   SuccessfulCreate    replicaset/demo-nginx-deployment-7c5ddbdf54   Created pod: demo-nginx-deployment-7c5ddbdf54-h8kx8
2m8s        Normal   Scheduled           pod/demo-nginx-deployment-7c5ddbdf54-bhbg5    Successfully assigned demo-ns/demo-nginx-deployment-7c5ddbdf54-bhbg5 to ip-172-17-153-194.us-east-2.compute.internal
2m8s        Normal   Scheduled           pod/demo-nginx-deployment-7c5ddbdf54-h8kx8    Successfully assigned demo-ns/demo-nginx-deployment-7c5ddbdf54-h8kx8 to ip-172-17-11-8.us-east-2.compute.internal
2m8s        Normal   Pulling             pod/demo-nginx-deployment-7c5ddbdf54-bhbg5    Pulling image "nginx"
2m8s        Normal   Pulling             pod/demo-nginx-deployment-7c5ddbdf54-h8kx8    Pulling image "nginx"
2m8s        Normal   Pulled              pod/demo-nginx-deployment-7c5ddbdf54-bhbg5    Successfully pulled image "nginx" in 207ms (207ms including waiting)
2m8s        Normal   Pulled              pod/demo-nginx-deployment-7c5ddbdf54-h8kx8    Successfully pulled image "nginx" in 206ms (206ms including waiting)
2m8s        Normal   Created             pod/demo-nginx-deployment-7c5ddbdf54-h8kx8    Created container nginx
2m8s        Normal   Created             pod/demo-nginx-deployment-7c5ddbdf54-bhbg5    Created container nginx
2m7s        Normal   Started             pod/demo-nginx-deployment-7c5ddbdf54-h8kx8    Started container nginx
2m7s        Normal   Started             pod/demo-nginx-deployment-7

c5ddbdf54-bhbg5    Started container nginx
Note: All of the resources that you created above using “kubectl” can also be done via the Kosmos UI.
Step 6: Delete the deployment
This should automatically delete the two pods.
% kubectl delete deployment demo-nginx-deployment --namespace demo-ns
Output:
deployment.apps "demo-nginx-deployment" deleted
% kubectl get deployments --namespace demo-ns
Output:
No resources found in demo-ns namespace.
% kubectl get pods --namespace demo-ns
Output:
No resources found in demo-ns namespace.
Step 7: Log out of Kosmos
% kosmos logout
Output:
14:30:19 done Successfully logged out of kosmos instance https://console.kosmos.spcplatform.com
Clean up
Login to the Kosmos UI: https://console.kosmos.spcplatform.com/kosmos/ and navigate to the devspaces list page. Select DevSpace_Name.
Select the checkbox for “demo-vcluster”, then click the “Delete” button.
Enter the name of your vcluster and confirm deletion.
The message “Virtual cluster(s) deleted successfully” will appear, and the vCluster will be removed from the list.

Enter the name of your vCluster, then click Delete.
The message “Virtual cluster(s) deleted successfully” appears briefly on the UI. The virtual clusters list page is automatically refreshed, and your vCluster is removed from the list. (All resources associated with the vCluster are also automatically deleted.)
For vcluster permissions and access management refer to Virtual cluster management guide