Getting started with Kosmos CLI
Pre-requisites
- You must have a Samsung AD account to access SPC Kosmos.
- Install kubectl
- Active Kosmos account. To request an account, see the Account registration guide .
Kosmos UI
- Go to the Kosmos UI login page .
- Select Sign in with SamsungAD as the login method.
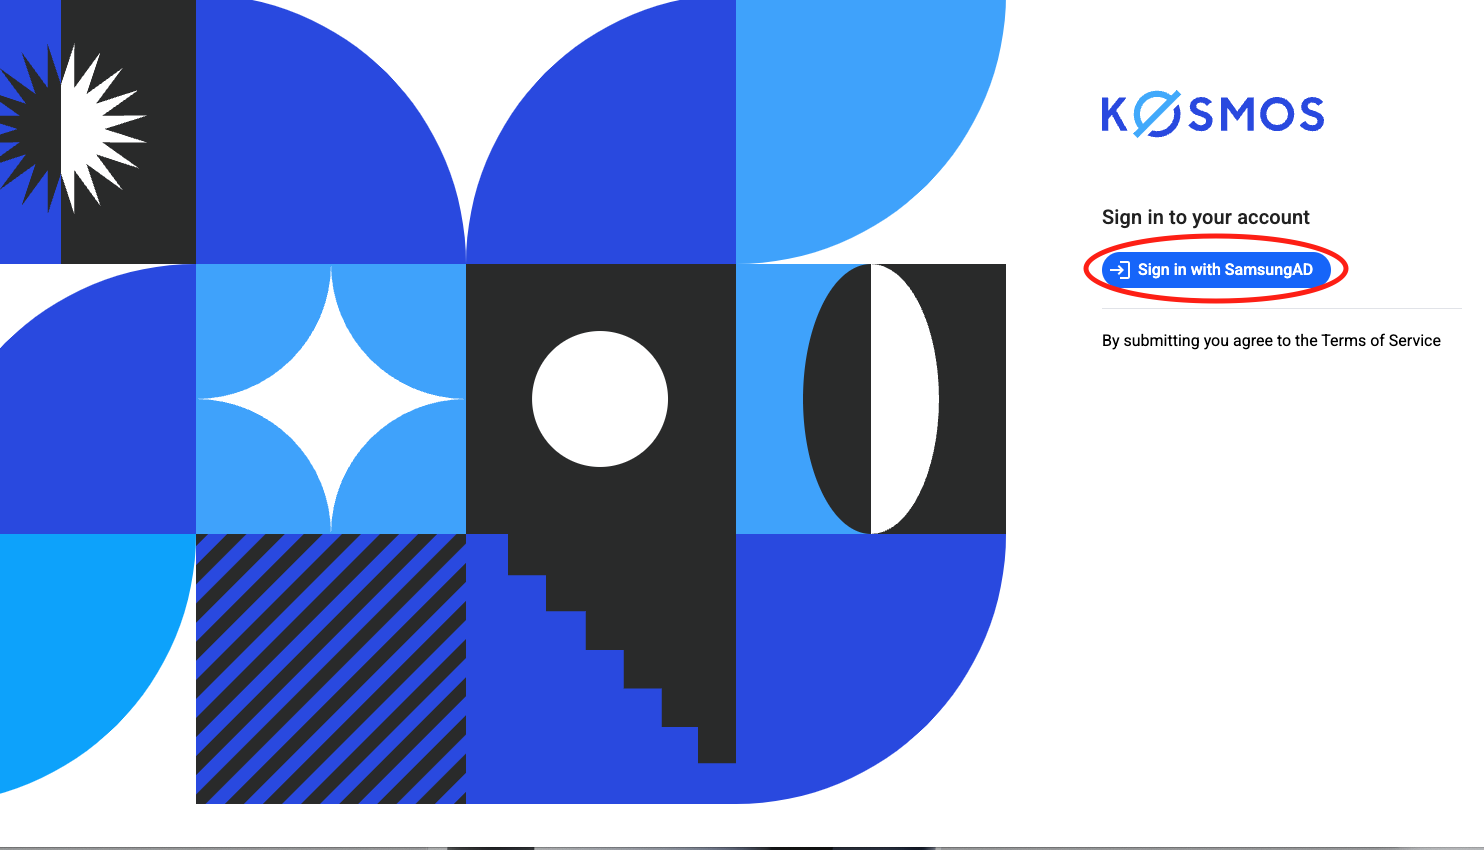
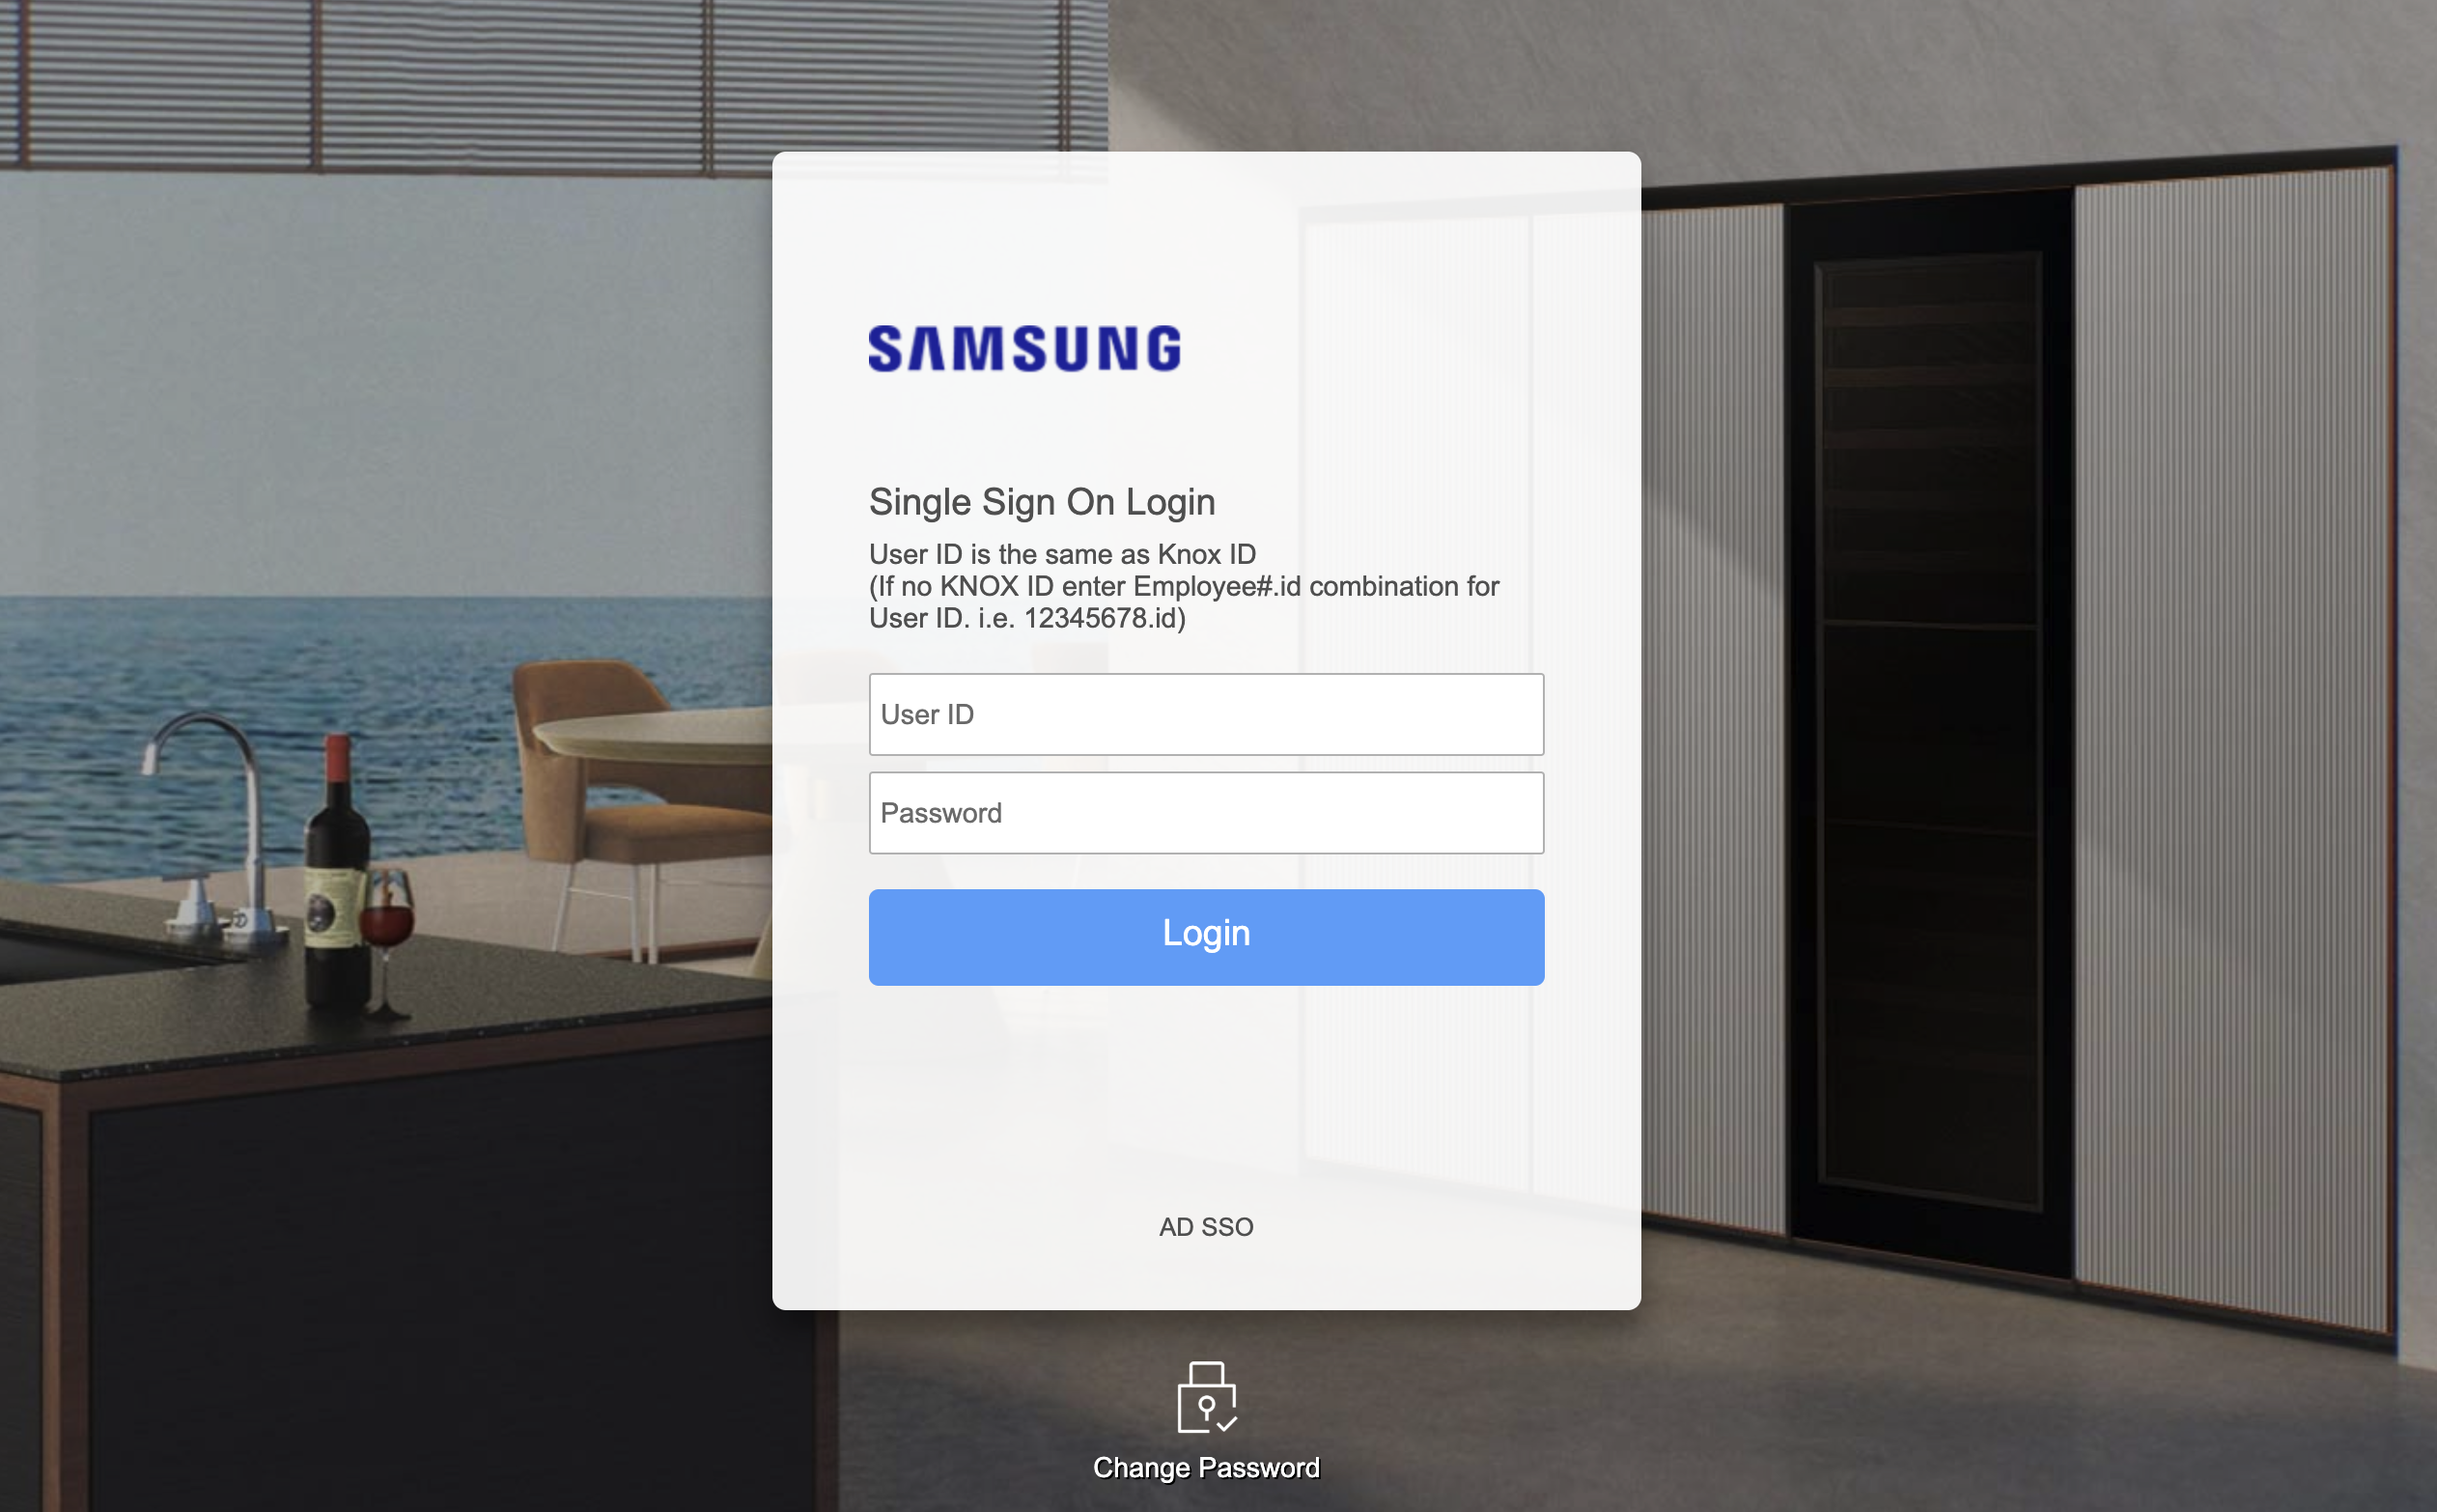
- Enter your credentials.
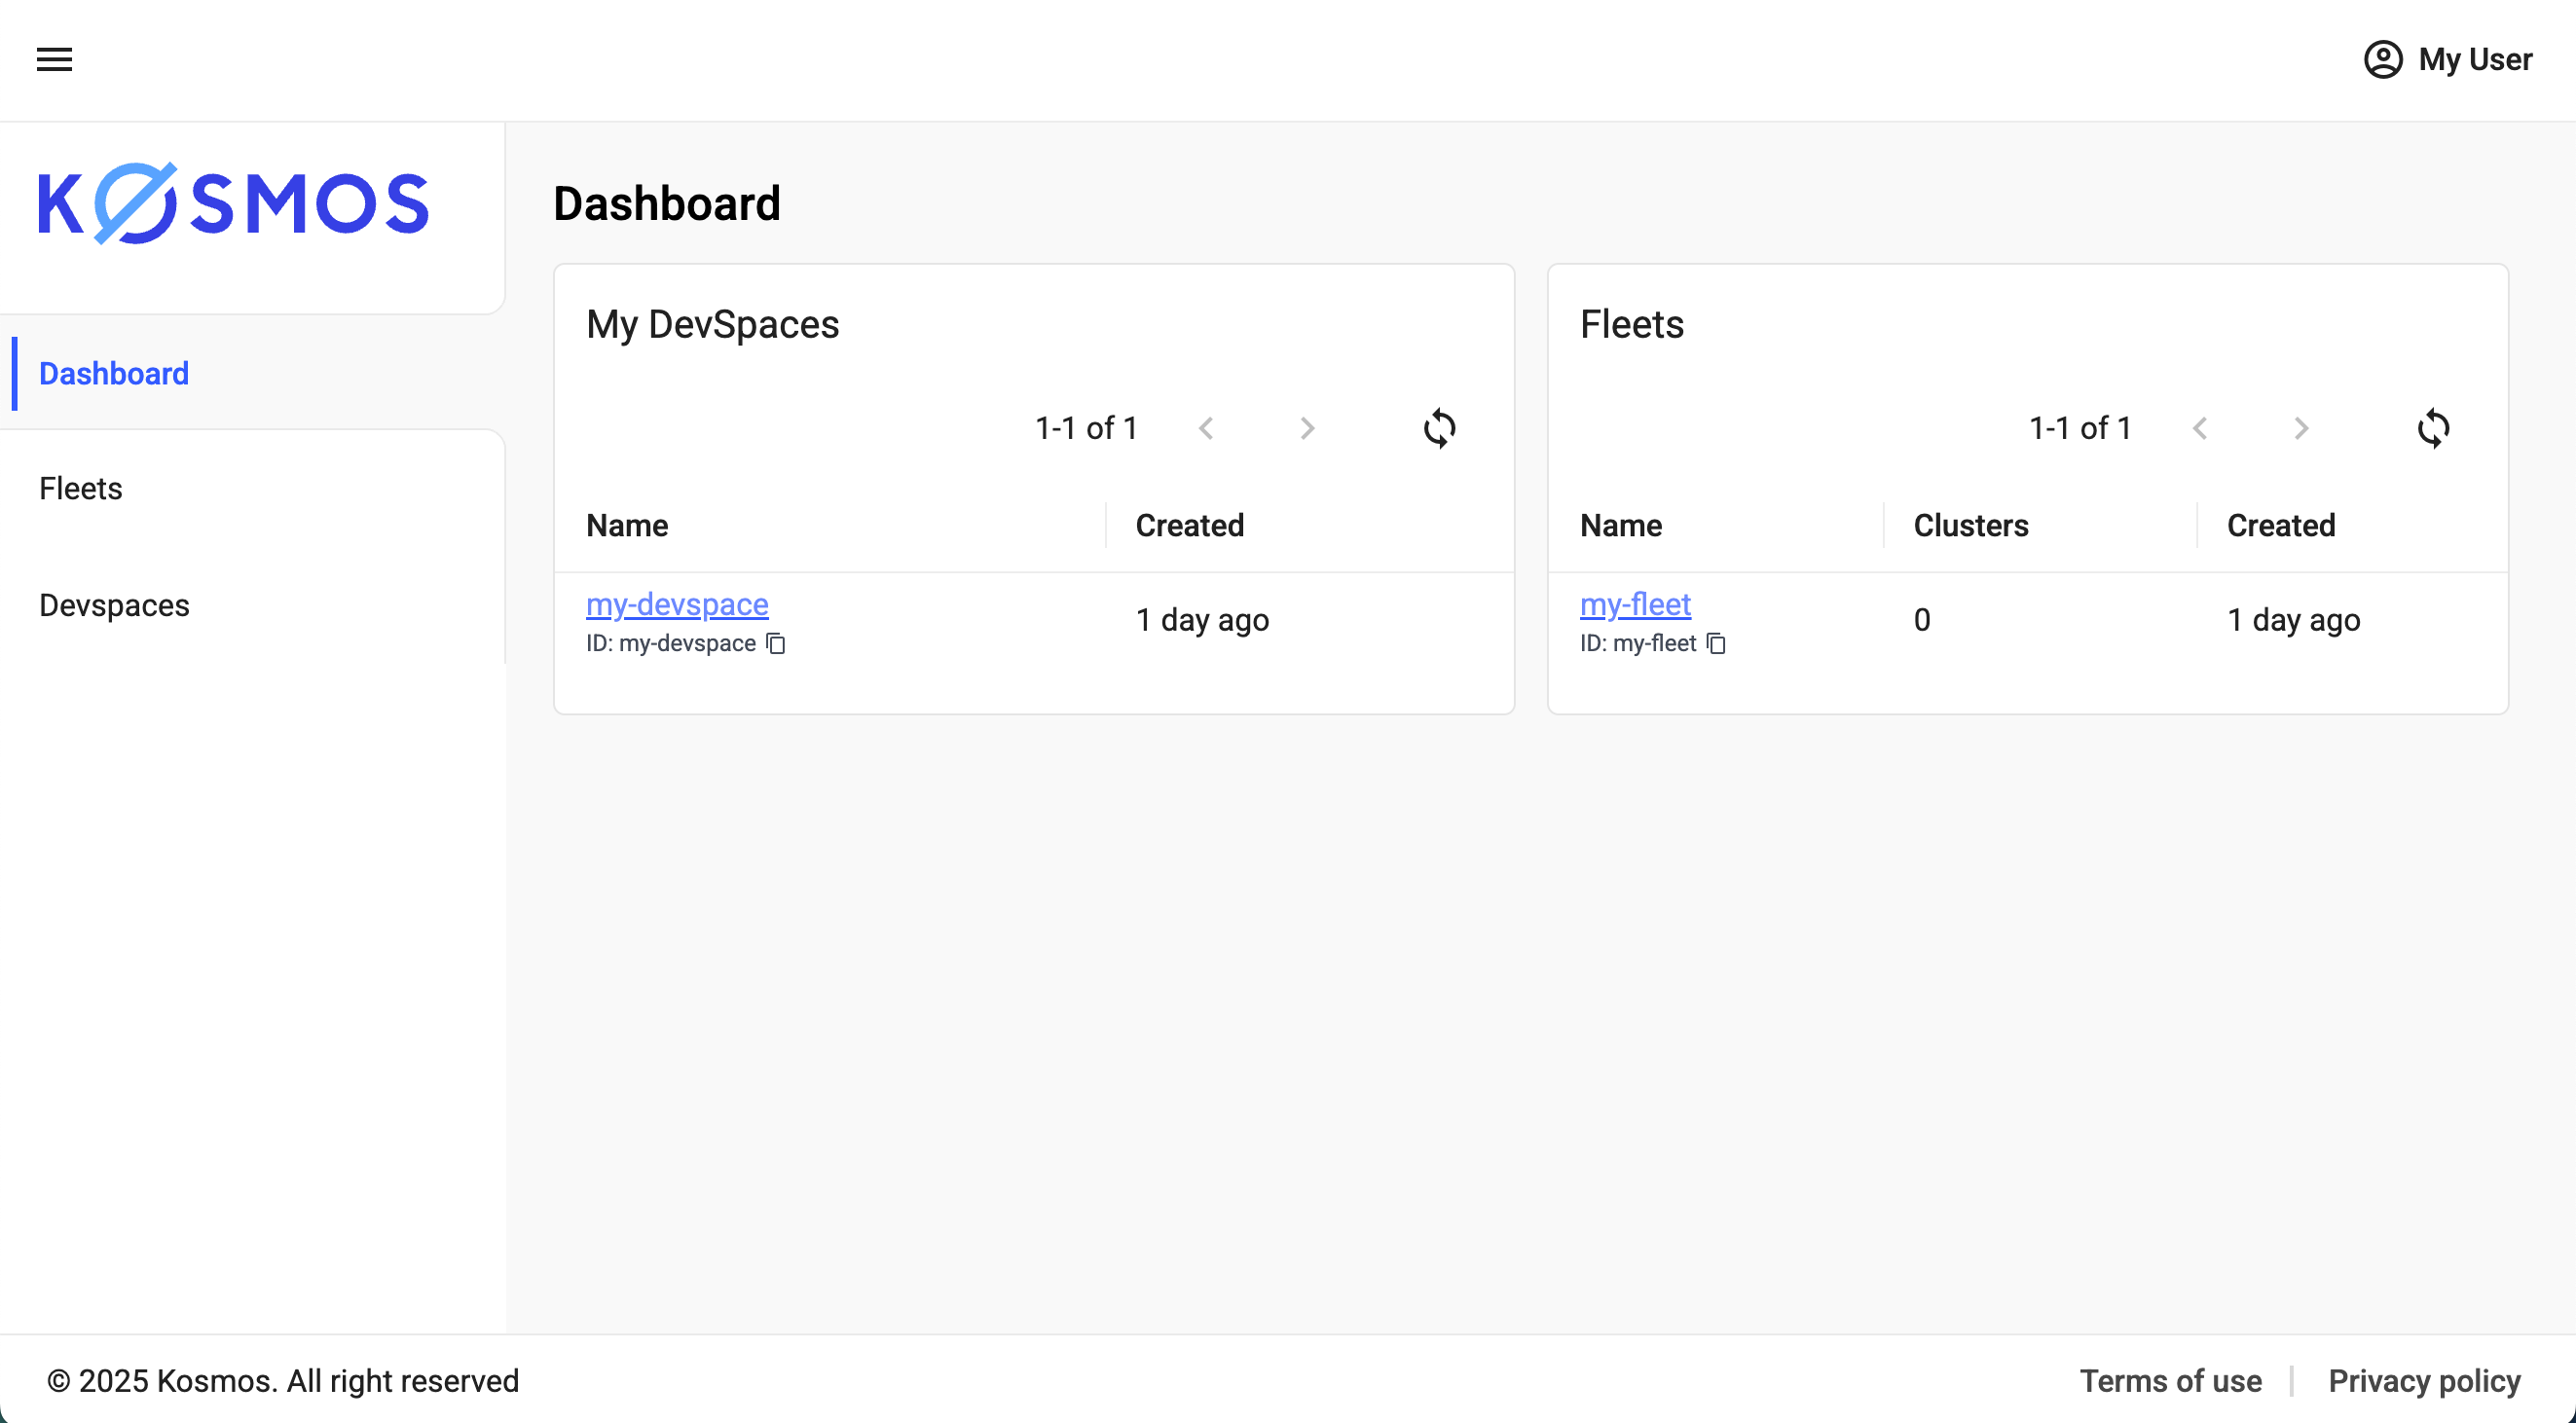
- After login, you will see the Kosmos dashboard.
Kosmos CLI setup
The Kosmos CLI can be installed by retrieving the installation package from the public bucket
Note: The Kosmos team maintains a download bucket accessible only to Samsung employees and internal users (requires SPAV VPN).
Download links:
| OS / Architecture | Download link |
|---|---|
| macOS amd64 (Intel) | kosmos-cli_4.3.16_darwin_amd64.tar.gz |
| macOS arm64 (Apple Silicon) | kosmos-cli_4.3.16_darwin_arm64.tar.gz |
| Linux amd64 | kosmos-cli_4.3.16_linux_amd64.tar.gz |
| Windows amd64 (Intel) | kosmos-cli_4.3.16_windows_amd64.tar.gz |
| Windows arm64 | kosmos-cli_4.3.16_windows_arm64.tar.gz |
Note: Access to these files is restricted to specific source networks (Suwon office, Joyent VPN, SPC Network).
Installation steps:
Extract the downloaded file.
- You should see an executable file named
kosmos. kosmosis for general Kosmos CLI use.
- You should see an executable file named
On macOS, allow the OS to trust the binary:
xattr -dr com.apple.quarantine kosmosCreate a shell alias to run it from anywhere:
alias kosmos="~/work/kosmos/cli/kosmos"Verify installation:
kosmos --version
kosmos version 4.3.7 ## or latest
Accessing Kosmos using CLI
To authenticate the CLI with Kosmos:
Interactive Login (Web Console)
kosmos login https://console.kosmos.spcplatform.com/
- A browser will open for you to sign in via Samsung AD to verify your login successfully.
Non-Interactive Login (CLI)
kosmos login https://console.kosmos.spcplatform.com/ --access-key [AccessKey]
If you don’t have an access key, you can generate one from the Kosmos console .
Steps to generate an access key
Open the Access Keys menu
- In the Kosmos dashboard, click your profile name in the top-right corner.
- Select Access keys from the dropdown.

Create a new key
- On the Access Keys dashboard, click Create access keys.

- On the Access Keys dashboard, click Create access keys.
Fill in the key details
- Provide a Name, Description, and Expiry date.
- Set the scope for your access key (permissions).

Save the key
- Click Save.
Copy the key immediately
- Once the Access key generated popup appears, copy or download the key.
- Important: You will only see the access key once. If you close the popup without saving it, you’ll need to create a new key.
After login:
- If already authenticated in the UI, CLI authentication will happen automatically.
- To confirm, run any Kosmos CLI command.


Full command reference: Kosmos CLI Docs
Common CLI commands
List clusters
kosmos list clusters --fleet [FleetName]
List quotas
kosmos list quotas [ClusterName]
List vClusters
kosmos list vclusters
Using your vCluster
To configure kubectl for a specific vCluster:
kosmos use vcluster my-vcluster
Output example:
[done] √ Successfully updated kube context to use virtual cluster my-vcluster in project my-project
Notes on customization
- Kosmos CLI does not include system-level operational commands like
backups. - It provides Kosmos-specific commands such as quota listing
list quota.